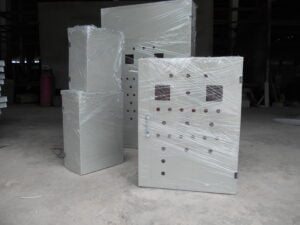
Introduction to Wire Mesh Cable Trays
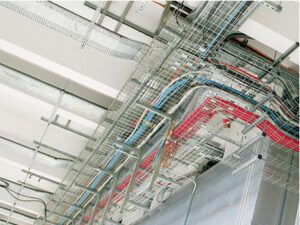
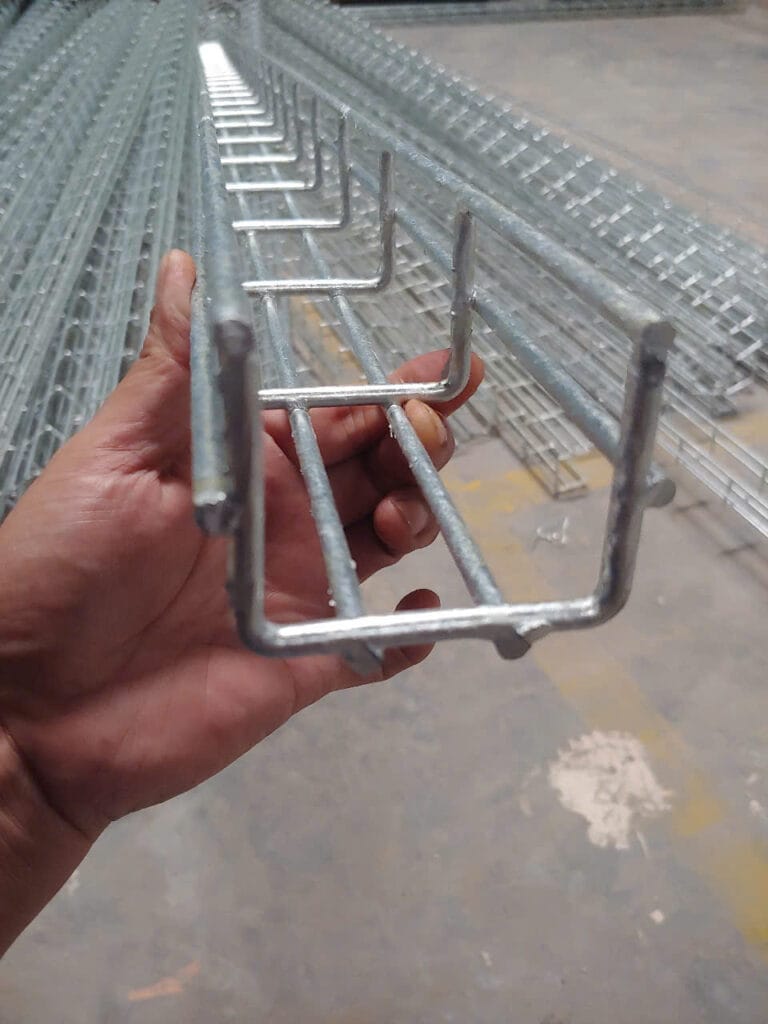
Wire mesh cable trays are a widely used cable-management solution for industrial facilities, office buildings, factories and other projects. A correct wire mesh cable tray installation starts with this open-mesh design, which is easy to cut and bend, enables flexible routing and is particularly suitable for light- and medium-duty cable systems. So, how should you install wire mesh cable trays correctly? Follow this complete guide.
Learn more about wire mesh cable trays
Preparation Before Installing Wire Mesh Cable Trays
Before installation begins, prepare all required materials and tools:
Materials:
- Wire mesh cable trays in the required dimensions
- Couplers, bolts, brackets and suspension clamps
- Support brackets, threaded rods and hangers
- Covers, end caps and self-drilling screws, if required
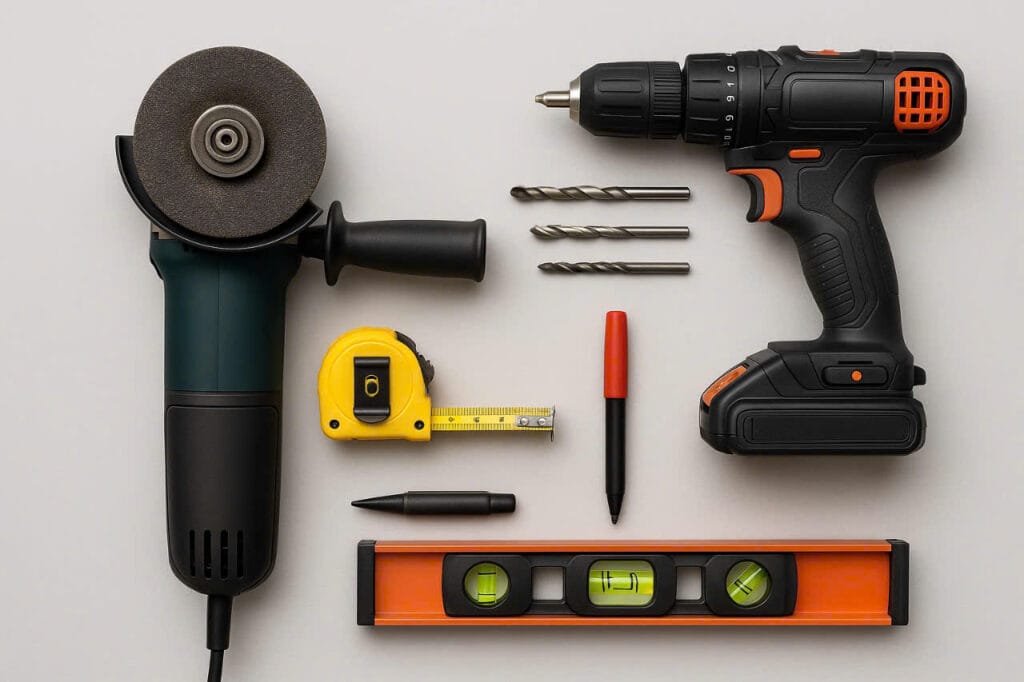
Tools:
- Handheld cutting machine
- Drill and screw-driving tools
- Tape measure, marker and spirit level
Wire Mesh Cable Tray Installation Steps
Step 1: Survey the installation area
- Measure the installation route according to the technical drawings
- Determine support spacing and the suspension or wall-mounting points
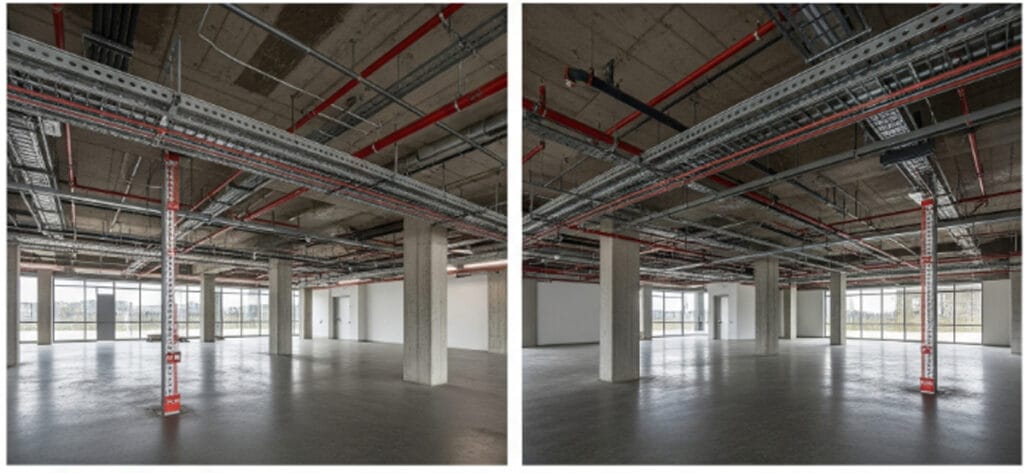
Step 2: Install the cable tray supports
- Support spacing is typically 1.2m–1.5m
- Use ceiling hangers, wall brackets or floor-mounted supports as appropriate

Step 3: Install the cable tray
- Cut the wire mesh cable tray to the required length with a handheld cutting machine
- Position the tray on the supports and secure it with bolts or dedicated clamps
- At each joint, use couplers and screws to create a secure connection
Step 4: Form changes of direction
- Use bending clamps to form L-shaped, T-shaped or cross junctions
- Secure every junction with dedicated accessories to ensure safety
Step 5: Inspect and complete the installation
- Make sure the tray is level and free from warping or distortion
- Install covers if required, verify grounding and mark the installation area
Important Installation Notes
- Do not allow cables to protrude beyond the tray
- Do not exceed the permitted load capacity of the cable tray
- Tighten all fasteners securely at every joint
- Ground the cable tray system to maintain electrical safety
- Inspect the system periodically after commissioning
Advantages of Wire Mesh Cable Trays
- Open ventilation helps limit heat buildup
- Easy installation and maintenance
- Low weight reduces support-system costs
- Clean appearance suitable for many project types
Where to Buy Reliable Wire Mesh Cable Trays
If you need a manufacturer and supplier of high-quality wire mesh cable trays, contact The Sun Company – thesun.vn. Drawing on many years of experience in electrical cable-management systems, we provide:
- Technically compliant products manufactured to applicable standards
- Nationwide delivery and on-site technical consultation
- Competitive pricing

Conclusion
Following the correct wire mesh cable tray installation procedure saves time and cost while improving the safety of the entire electrical system. Choose a reputable supplier and follow each installation step carefully to achieve reliable, long-term performance.